Ad blocker detected: Our website is made possible by displaying online advertisements to our visitors. Please consider supporting us by disabling your ad blocker on our website.
First step: Make the liner. Rose&Hollis A279. I widened the rebate on my routing table. Big canvases need lots of elbow room.
As it turned out, it was a bit out of square and just fiited. I didn't have the painting on the plot, the guy was still working on it
and no room anyway.....
xmas2018_1.jpg (92.19 KiB) Viewed 11329 times
You will see I had to build extensions to the table to accommodate the thing. I had to commandeer the front of the shop as it was
too big for the workshop. I don't usually like doing 'mucky' work in the shop, hence the dust sheets. I did manage to underpin the liner
but added steel 'L plates ' on the corners.
Stage 2. Build the core of the frame. R&H A138. Once the liner is made the size is set and the important thing to establish
when multi-stacking is the differential between the long and short sides. This is a constant.
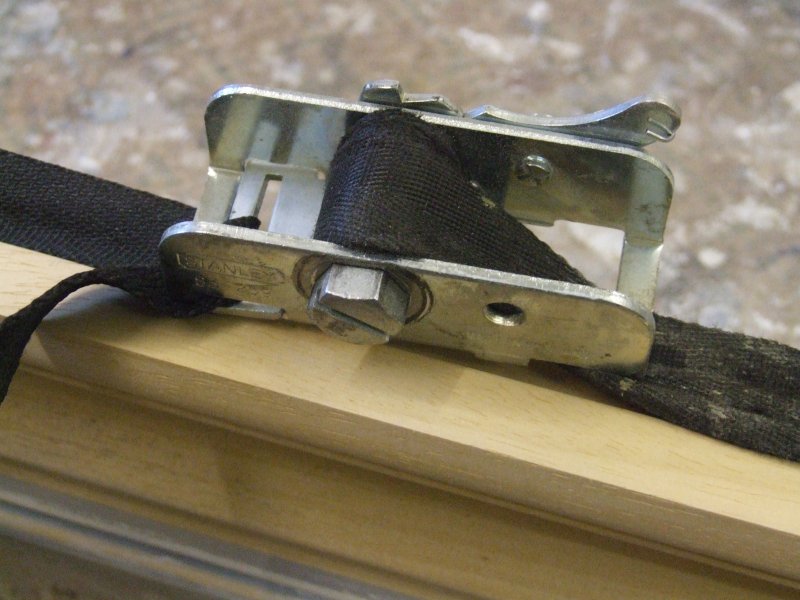
I didn't underpin this moulding. I put a biscuit slot in each corner and cross-nailed them. The webbing strap was a must as was
my newly bought spring-clamp set. Very old school.
Trying to join an 8' x 6' frame for the outer moulding was a bit too much. So I fixed each rail individually. The corner joints don't
need to be especially strong as the strength of the whole frame is in the middle moulding. Took a bit of faffing about to get the rails the
right length. I assembled the four rails 'dry' with the aid of the spring clamps and the removed one at a time a glued them all the way
along. Nailed though into the middle moulding.
Had to extend the back to swallow most of the depth of the canvas. For this I used a square moulding with the rebate ripped off
and another smaller one with the outer edge chamfered.
The two short sides have a piece of PSE pine glued to the back for the hanging cleats.
Now to try to flip it over. I couldn't do it on the table as not enough ceiling clearance. So I had to do a three-point turn
on the floor. This had to be done very carefully. Helps if you have arms like a gibbon.
While the main frame is off the table, time to finish the liner. All 28+ feet of it. Six processes, so that like doing one coat
on a piece nearly 180ft long.
Grain filled with polyfilla, two coats of ripple paint to prime and then two coats of 50/50 Titanium White/Buff acrylic.
When dry a toning coat of dilute Raw Umber.